
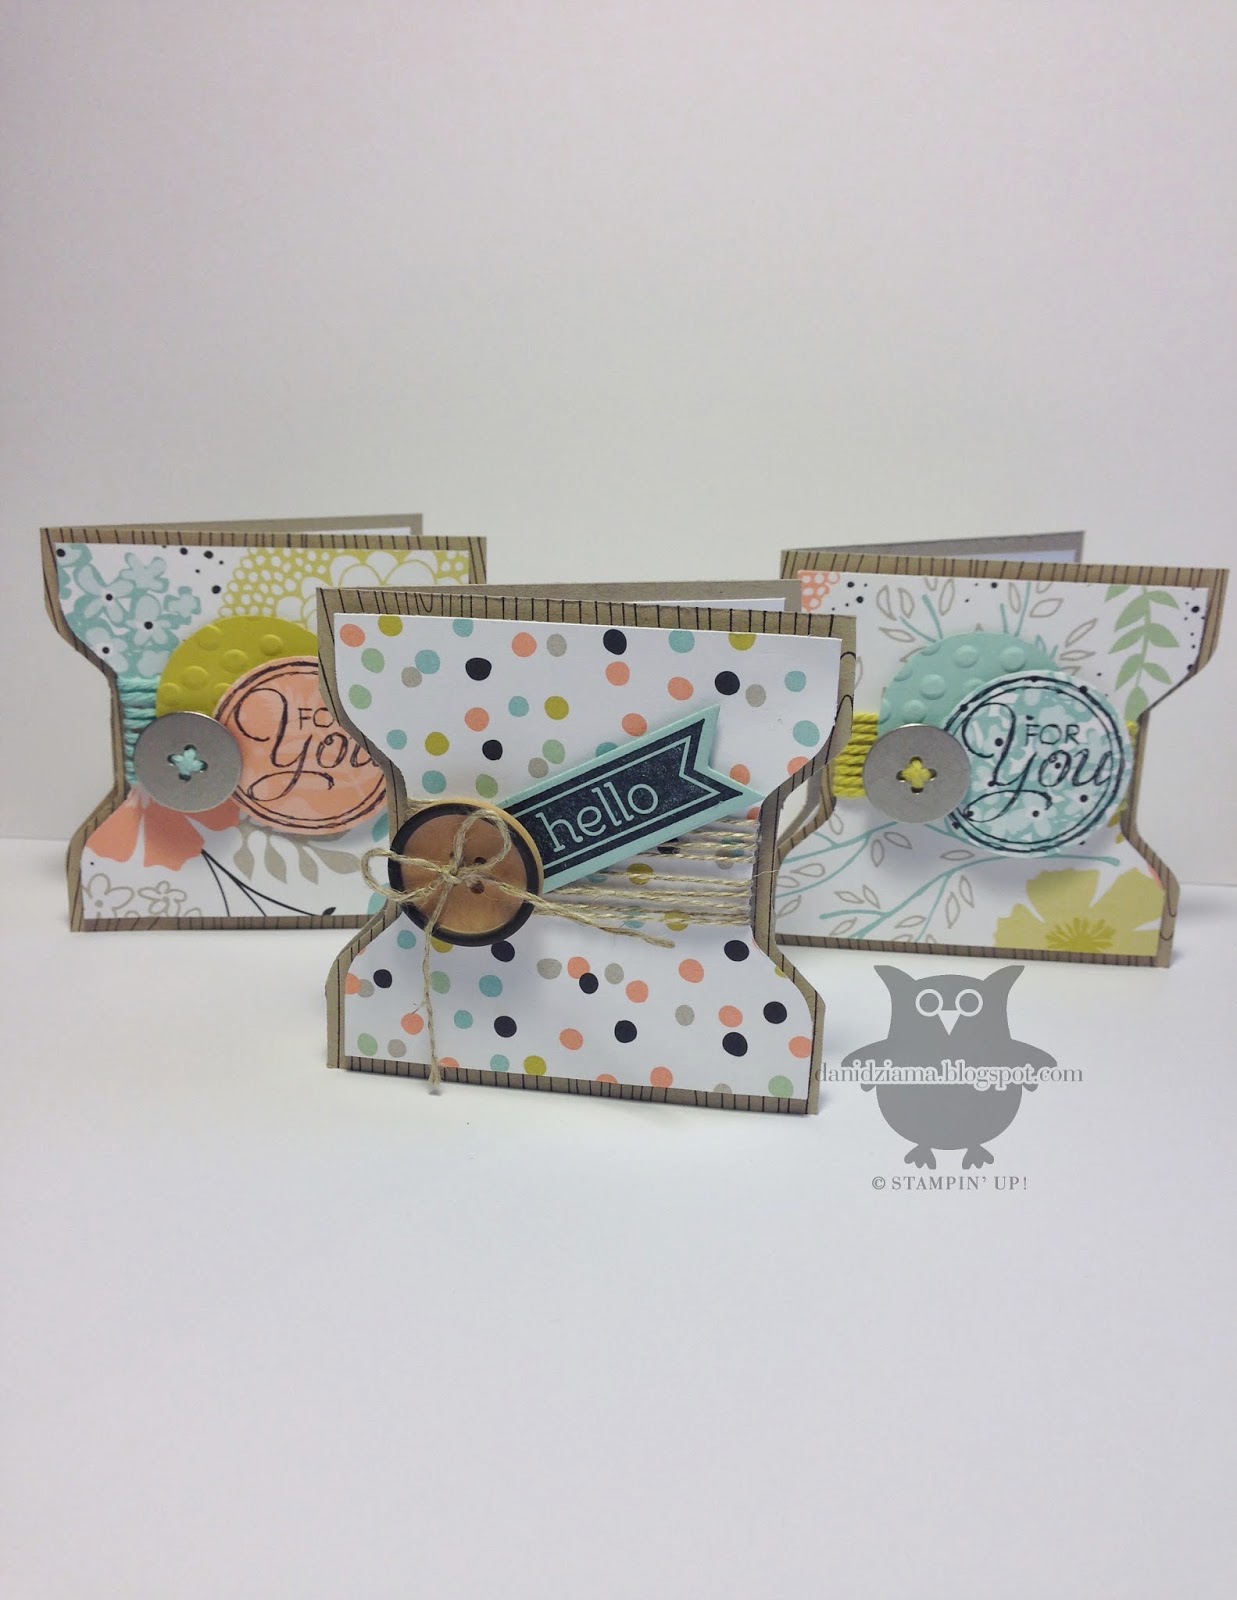
Hello there and welcome back for the bi-weekly Monday Montage blog hop. You should have arrived here from the wonderful Cathy Casey's blog. If not and I'm your first stop- no worries! Simply use the back/next buttons at the bottom of this post to navigate your way around the hop.
Tonight's project is a scrapbook page that I created using an old picture of my older sister Courtney and I. This picture isn't just any ordinary picture. It was taken many many years ago and it's actually a picture of a picture. (I think I'm around 19-20 months old in this picture)
When I visited my parents a few weeks ago I went through some old pictures with my mom. This was one of my favorites!
For my scrapbook page- I wanted to do something a little different. I actually printed my picture out onto a piece of Canvas Creations instead of photo paper. It took me a few tries to get it right but overall- I like how the picture came out! It has that "old fashioned" feel to it.

Here's a close-up of the canvas picture. It's hard to tell that it's canvas but if you look at the texture of the image- you'll see that it is!

For the flowers- I also used Canvas Creations and the Spiral Flower Die. Then I sponged each spiral with ink (I use Bermuda Bay, Crushed Curry and Wisteria Wonder), rolled them up and glued them together.

Using the Canvas Creations for the flowers was a lot different than using card stock or DSP. The canvas isn't as sturdy as paper is.

It's hard to see in the picture but I used my sewing machine to sew a zig-zag stitch along the left side and bottom border of the page.
Have a great day and thanks for stopping by! Hit the next button to head on over to see what the fabulous Dara Gloden has whipped up this week!
Ingredients:
Card Stock: Very Vanilla
DSP: Afternoon Picnic
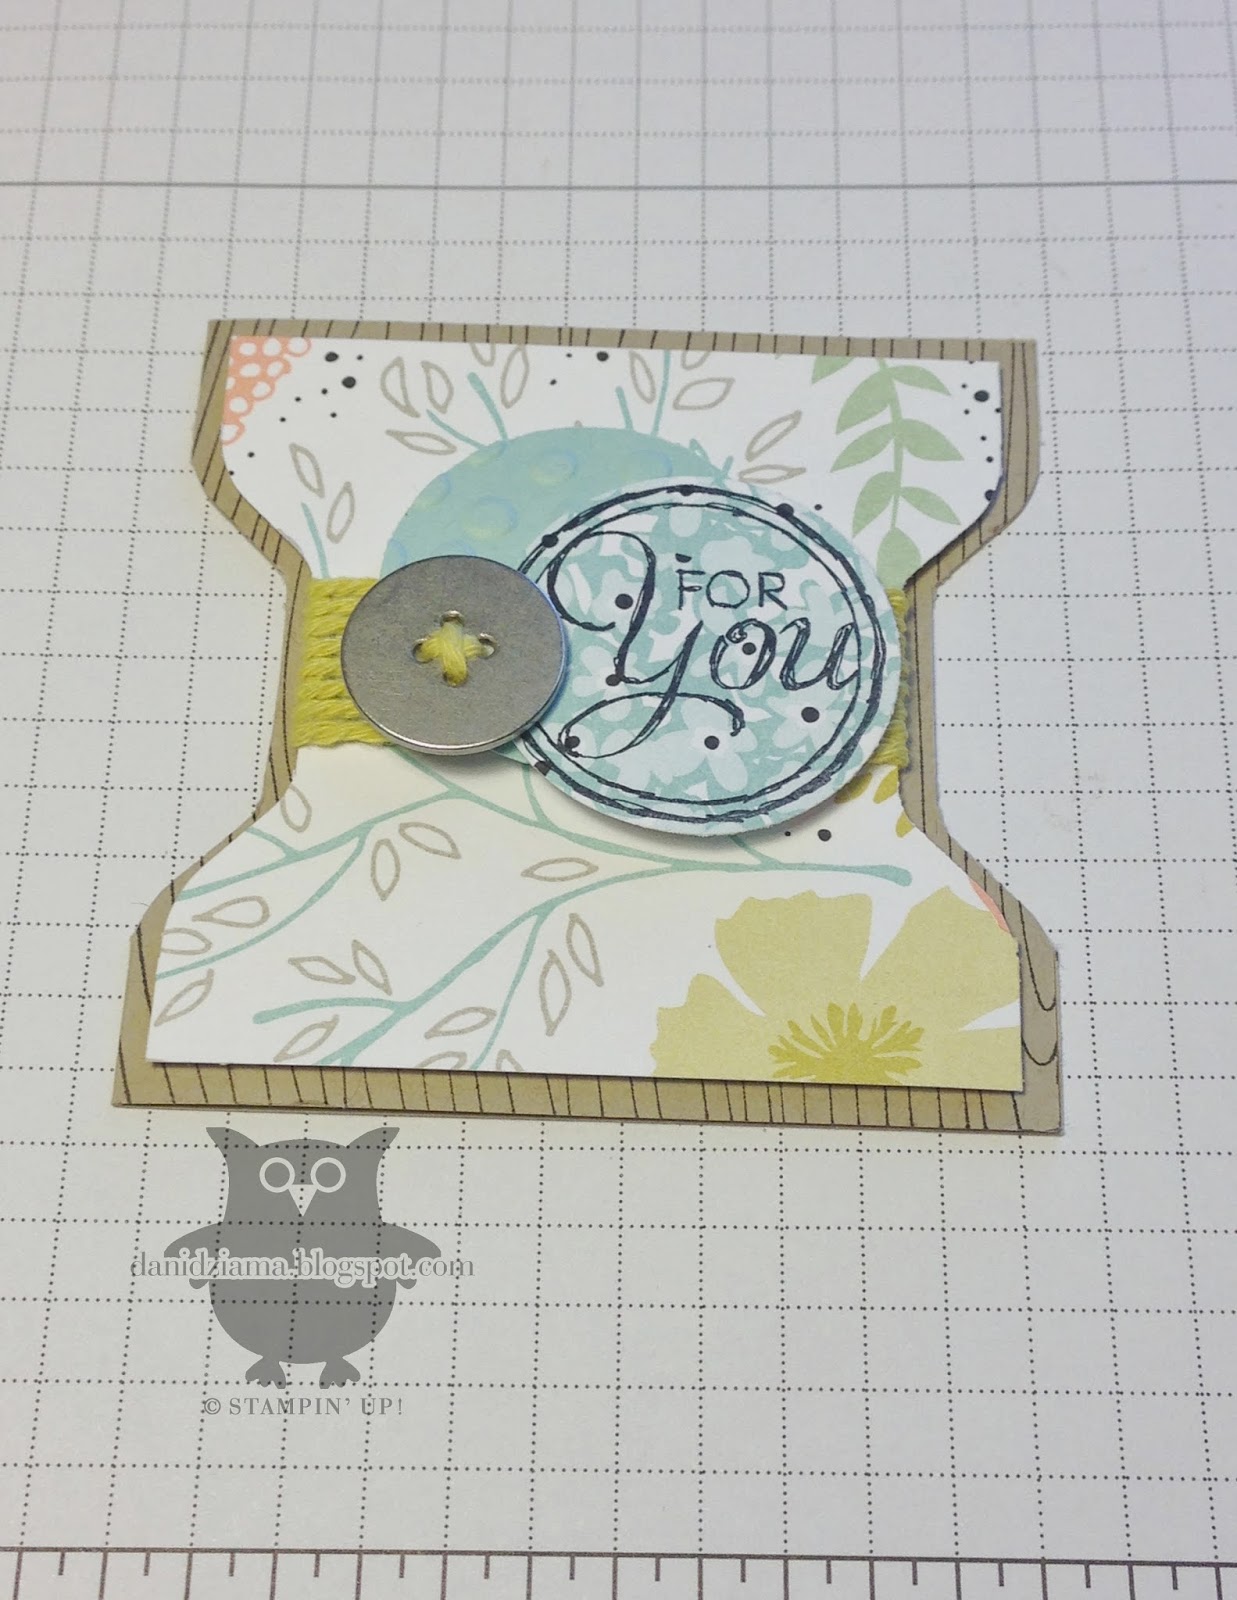
Stamps: Gorgeous Grunge, Loving Thoughts
Inks: Wisteria Wonder, Bermuda Bay, Crushed Curry
DSP: Afternoon Picnic
Stamps: Gorgeous Grunge, Loving Thoughts
Inks: Wisteria Wonder, Bermuda Bay, Crushed Curry
Tools/other supplies: Stampin' Trimmer, Big Shot, Spiral Flower Die, Tea Lace Paper Doilies, Early Espresso Baker's Twine, 1/2" Very Vanilla Seam Binding Ribbon, Glue Dots, Stampin' Dimensionals, Mini Banner Punch, Paper Snips, Canvas Creations, Sponge Dauber, sewing machine, thread, hot glue gun/hot glue sticks


